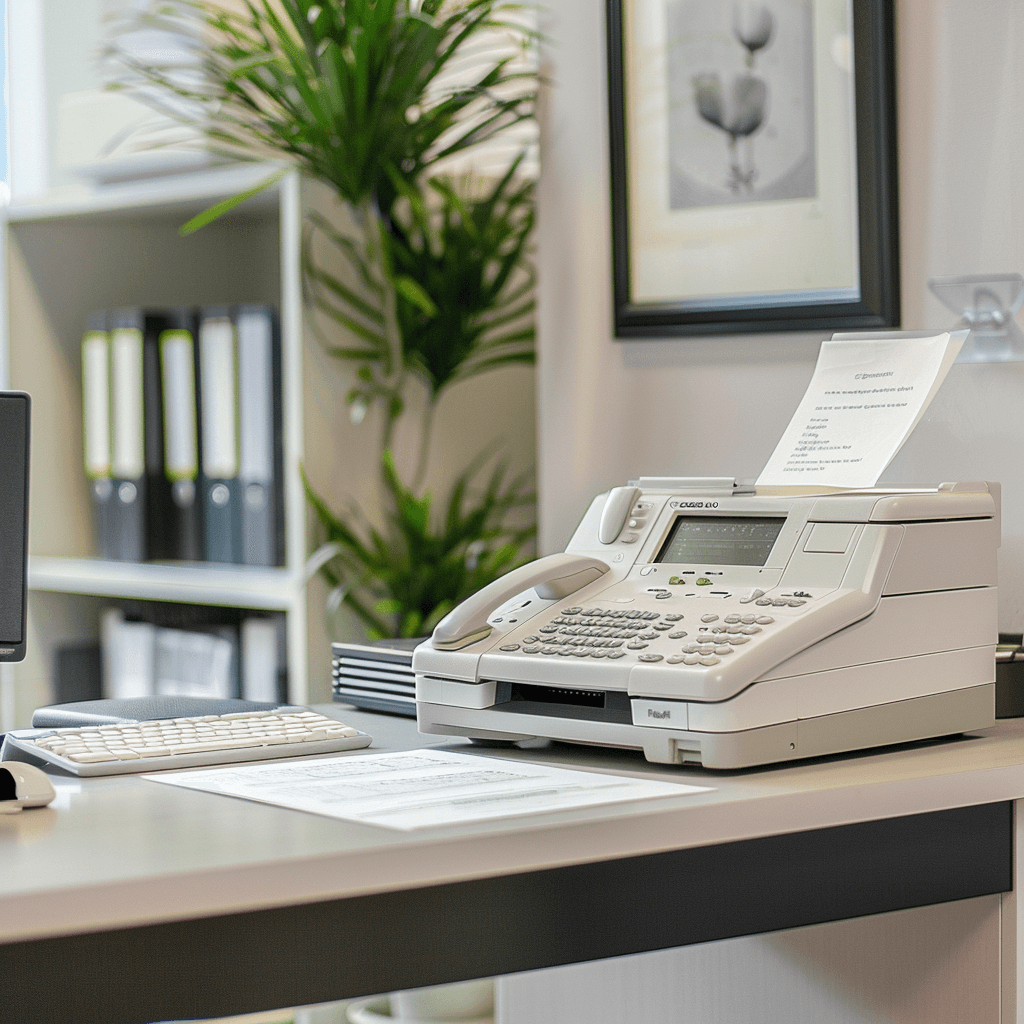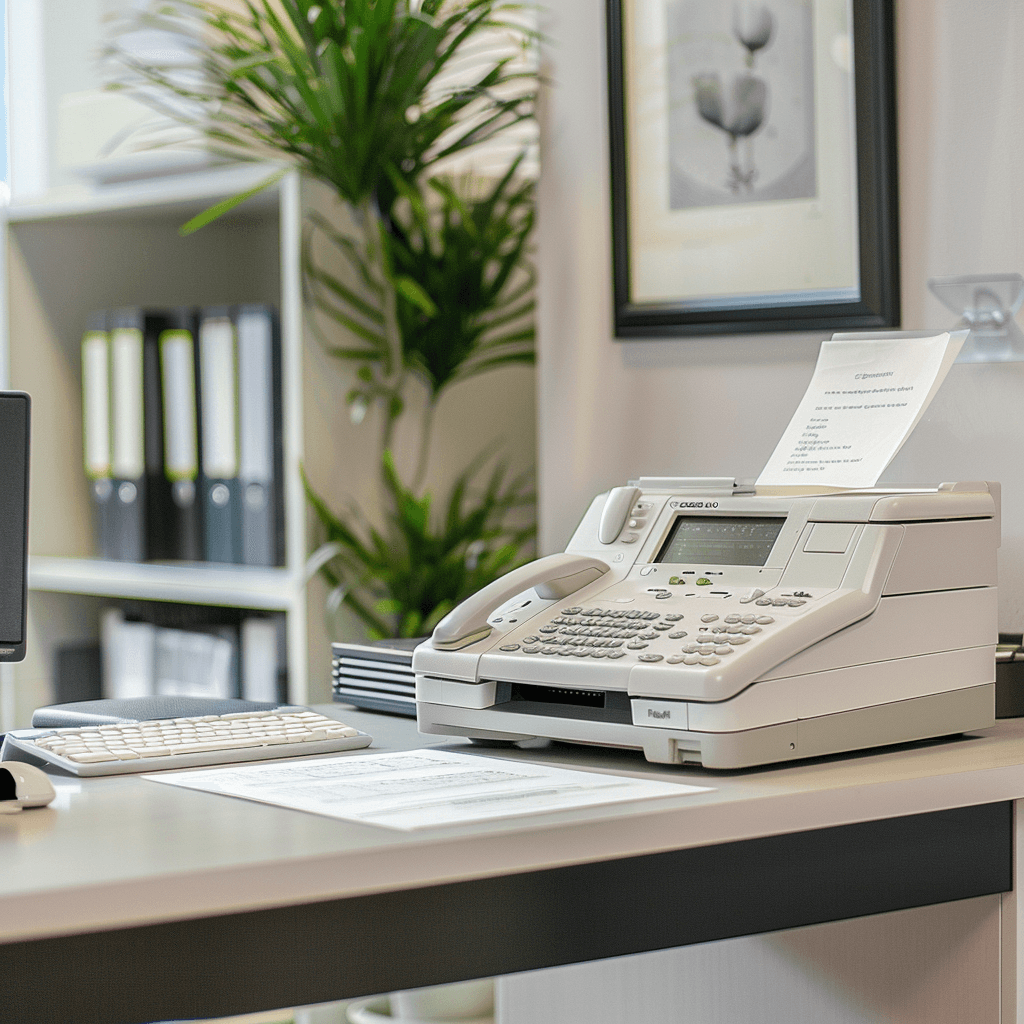
Inevitably, modern technology and the rise of digital communications have displaced the need for a fax machine, and now, fax machines are almost viewed in a nostalgic light. Most people have now made the switch to an online faxing service, reaping the benefits of a more economical and convenient means to send and receive documents instantly.
However, fax machines are still around – albeit in far fewer numbers – and while they are rarely sold in physical stores, you can still buy a traditional landline fax machine, should you wish to.
Set up Basics
We have created this guide for the minority who prefer faxing ‘the old way,’ with a step-by-step process on how to set up a fax machine. Assuming you have unboxed the machine and have it plugged in, all you need to do is follow these simple procedures, and we will fill your office or workplace with screechy, whirly noise in no time at all.
Towards the end of the guide, we will show you a much better way of transmitting your documents, in which you can effortlessly send a fax online. For now, let’s take a look at those steps.
How to Set up a Fax Machine: Step-by-Step
In all probability, you are working with a conventional, traditional fax machine. However, you may be using a printer to send faxes, assuming your machine is fax-ready. We shall account for both types below, starting with the traditional fax machine.
Traditional Fax Machine Setup
- Connect to a Power Source: Ensure your fax machine is connected to a stable power source. Place it on a stable, flat surface near both a power outlet and a telephone line jack.
- Attach the Telephone Line: Locate the telephone line jack on the fax machine, which is typically marked “Line.” Connect one end of the telephone cable to the jack and the other end to your wall telephone socket.
- Insert Printing Components: Depending on the model, this could involve installing a toner or ink cartridge and loading paper into the tray. Ensure you have the correct size and type of paper needed for faxing.
- Configure Fax Settings: Power on the machine and use the control panel to enter the setup mode. Here, you can input your fax number and adjust settings such as transmission speed, resolution, and ring count before the machine picks up.
- Set Up a Fax Header: Program your fax header to display your name or company and the fax number on each page sent. This can usually be done through the basic settings menu on the machine.
- Test the Connection: Send a test fax to a known fax number to ensure everything is functioning properly. You should also ask someone to send you a fax to confirm both sending and receiving capabilities.
Setting Up a Printer for Faxing
- Check for Fax Capability: Ensure your printer includes fax functions—typically indicated by a ‘Fax’ button or option in the model’s menu.
- Connect to Telephone Line: Similar to a traditional fax machine, connect your printer’s fax port to a telephone wall jack using a telephone line cable.
- Install Required Software: Some printers require specific software or drivers for fax functionality. Install any software that comes with your printer or download it from the manufacturer’s website.
- Configure Through Printer Software: Access the fax settings via the printer’s software on your computer. Enter the necessary information, such as your fax number and preferences for receiving faxes.
- Load Paper and Test: Make sure your printer has paper loaded. Send a test fax to check that the setup is correct. Also, receive a test fax to ensure the printer is ready to handle incoming faxes.
Troubleshooting Fax Machine Setup Issues
As you can see, knowing how to set up a fax machine is quite easy to grasp – there really isn’t much to it. However, issues can arise owing to a variety of factors. With that in mind, please refer to the following troubleshooting tips should you find yourself unable to proceed with setting up a fax machine.
No Dial Tone: Check if the telephone line is properly connected to the correct port on your fax machine. Make certain that the line is active and not being used by another device.
Poor Quality Faxes: If faxes are arriving blurry or incomplete, check the scanner glass for any dirt or smudges. Also, adjust the resolution settings, which can often be set too low by default.
Fax Not Sending: Make sure the number being dialed is correct and includes long-distance codes if necessary, then verify that your fax machine is set to the correct mode for dialing out, especially if it shares a line with other devices.
Error Messages: Refer to your user manual for specific error codes. Most machines provide troubleshooting steps tailored to each error.
Paper Jams: Regularly check and clear any paper jams – a surprisingly frequent issue in fax machines. Make sure you are using the appropriate paper type and that it’s loaded correctly.
Delayed Sending or Receiving: If your fax machine experiences delays, check the fax memory. Machines with low memory can struggle with large documents. Try breaking your fax into smaller segments or reduce the resolution for sending.
Frequent Disconnections During Transmission: Check there are no interruptions in the phone line. This can be caused by poor line quality or interference from other electronic devices. Try relocating the fax machine or using a different phone line.
Alternatively
There is a far simpler option available to you. While traditional faxing is a dependable, efficient way to transmit your documents, it is slightly antiquated in this day and age.
The easier option would be to use a more modern fax service, like Fax Burner, where you can send and receive faxes directly from your iPhone, iPad, or any computer.
Just download the Fax Burner app, and you’ll quickly have a free fax number at your disposal, available for 24 hours. If you need to keep the number indefinitely, you can select one of our affordable premium plans.
Sign up for Fax Burner now, and never go back to the hassle of traditional faxing again!


